
This is a photo I took some years ago now of Seattle’s Pike Place Market. I love to take day trips there and do expect crowds as people from all over the world like to frequent this market.
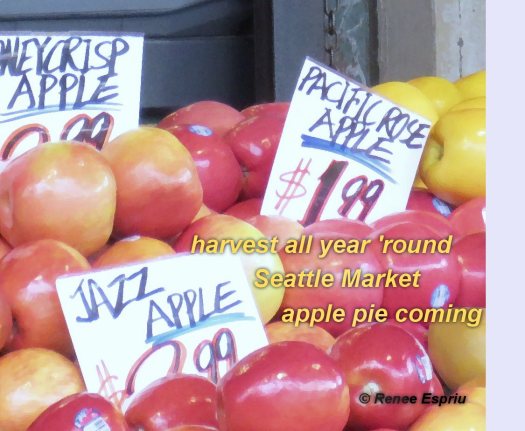
harvest all year ’round
Seattle Market
apple pie coming
This is for 30doh hosted by Rick Daddario. See his site http://rickdaddario.com/blog/ for more information if you are interested to join in.

Those apples look yummy! 🙂
LikeLike
Yes, they do, don’t they. The market is a wonderful place to visit and hard not to come away with something. 🙂
LikeLiked by 1 person
a great place to visit!
LikeLike
Yes and I have yet to get there yet this year but I’m still going to try. 🙂
LikeLiked by 1 person
aloha Renee. it amazes me how life patterns (in travel) often cross in places two people have been. i too know this area of Seattle. and there was always so much going on all year round as you say. very cool on using photos from years ago. i like to do that as well. well done. and fun. aloha.
LikeLiked by 1 person
Thanks again! The only thing I wish I could figure out how to do that you do on many of your photos and such is, what appears to me, a frame within a frame where the frame on the outside is transparent? Your frame is a solid line that you have managed to put on top of the image. The only thing I seem to be able to do is a solid frame of the image I am working on and I would so like to figure out how to do this frame within a frame where the frame itself is transparent and on the inside the image is more solid or more like the original. I really am not very good at all this technology and do tend to get frustrated at times. I actually do things I like, post them, and then cannot remember exactly how I did it…and so it goes. Be well.
LikeLiked by 1 person
what i am doing in photoshop elements (a lite version of photoshop), is “selecting” my frame areas on the photograph. this can be done in several ways. a simple way to explain is to select the area of your photo that you want to keep as the photo. then click “inverse”. now the frame area will be selected. from there you can lighten or darken that area. lightening it will create a fading effect. darkening it will. . . . make the area go darker. using this process you can select each area you want to change. the thin white area when selected i simply increase the lightness to next to nothing. and the dark thin area is darkened next to the most dark. the broader frame area is a stage in between those. if you use photoshop it is easy to create your 3 areas of the frame in black, white and gray. then it’s easy to work in layers and select the area you want with a wand on that “template”. then go to the photo layer and lighten or darken as much as you wish. i keep my “template” original and make a copy to use with each photo i do. by clicking “multiply” as our blending mode you will get the effect of the template on your image if you flatten it at that point too. sometimes i do this. sometimes i delete the template and just allow the lightness and darkness i’ve created on the image to be my “framing”. i hope this helps. if you are not using photoshop or photoshop elements, other photo editing programs have similar capabilities. use your selection tool and go from there. if you are still having difficulty, tell me what photo editing tools you have and i will try to help. always use a copy of your photo so you can keep your original photo intact as it is. you probably know that. i wouldnt want you to find out the hard way that you couldnt go back to your original photo tho. let me know if you need more help. it’s an exploration adventure to find out what you can do. explore and have fun. aloha.
LikeLike